Ourwalkthrough hubhas links to all of our Black Myth: Wukong guides.
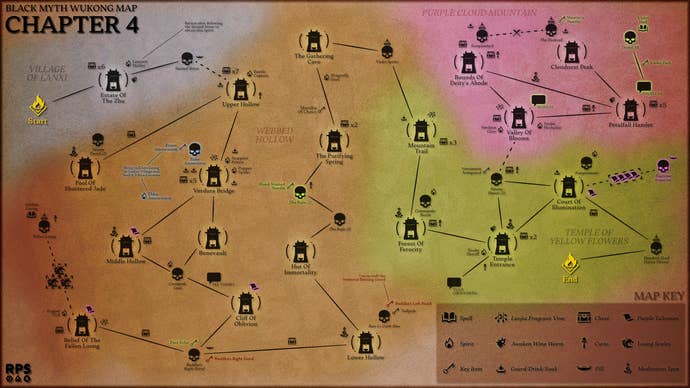
Feel free to consult ourChapter 4 mapbelow to keep you on the right track!
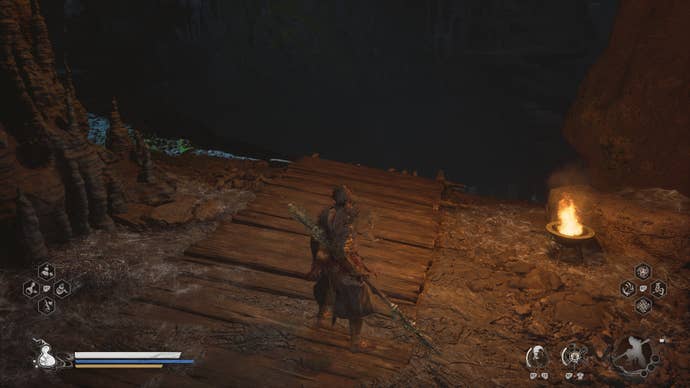
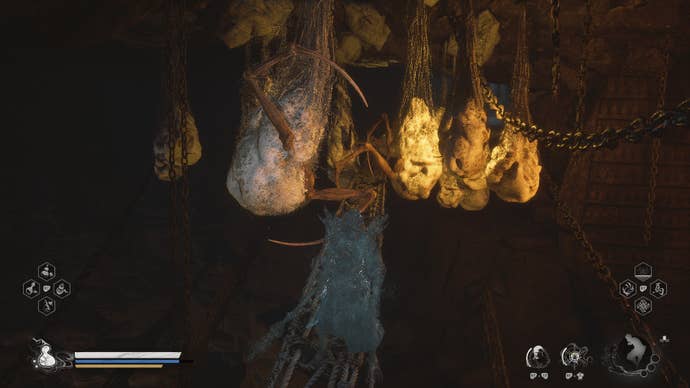
You’ll fall into the depths of the Webbed Hollow.
(A Grasshopper Guai will immediately burst out of one of these eggs to jump you).
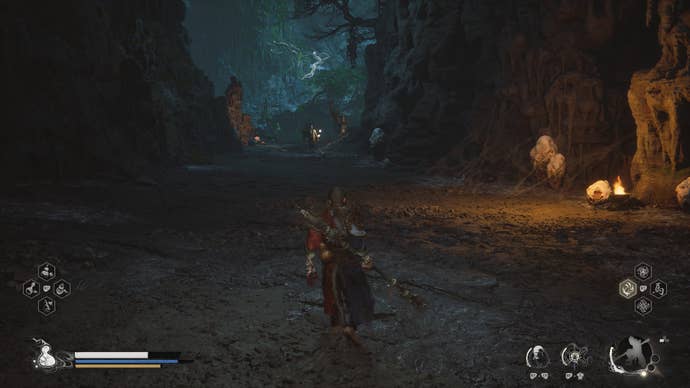
This is the start of the Webbed Hollow’s complex, weavy corridors.
you’ve got the option to jump down here.
Do so, turn right, and continue going downwards.
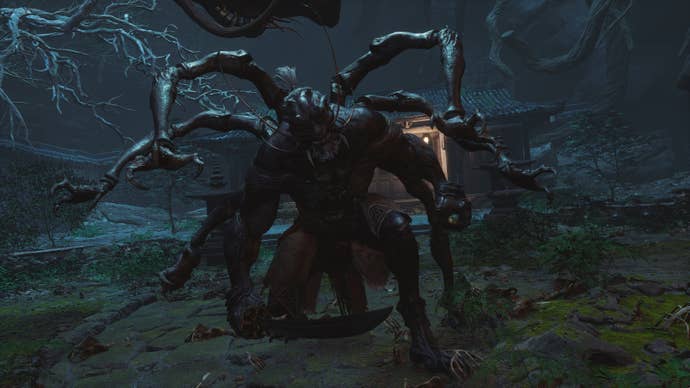
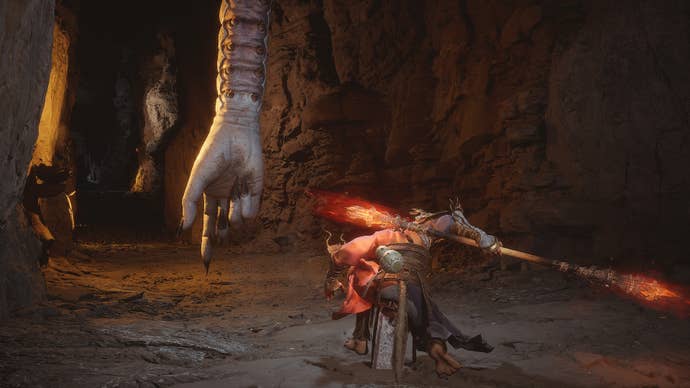
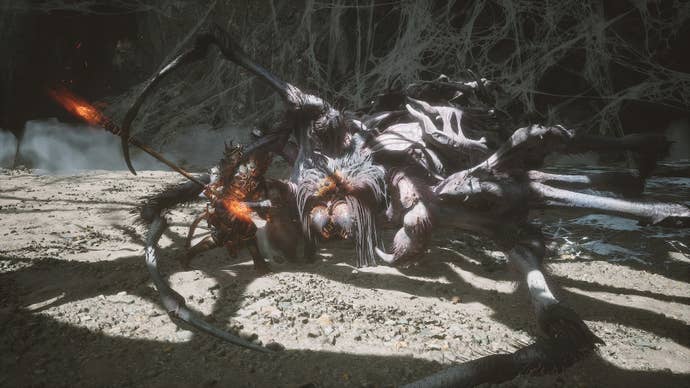
The first time you met this multi-armed bastard, he’ll be trapped in an “OddCocoon.”
Hit it a few times with your staff to start the fight.
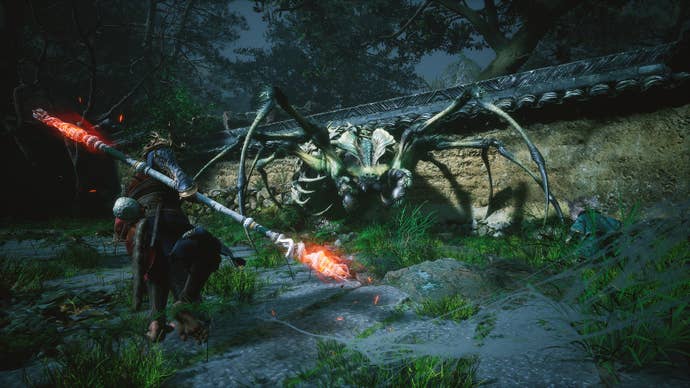
The Venom Daoist will flee once he’s had enough punishment.
Once the Amourworm’s dead, head left towards the statue and keep going leftwards.
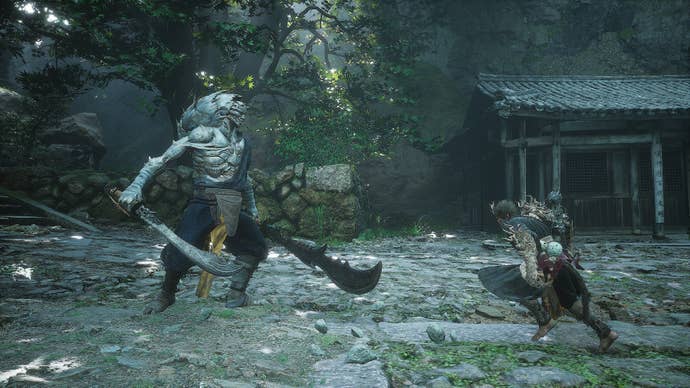
You’ll run into a tough Scorpion Prince along the way, along with a Luojia Fragrant Vine.
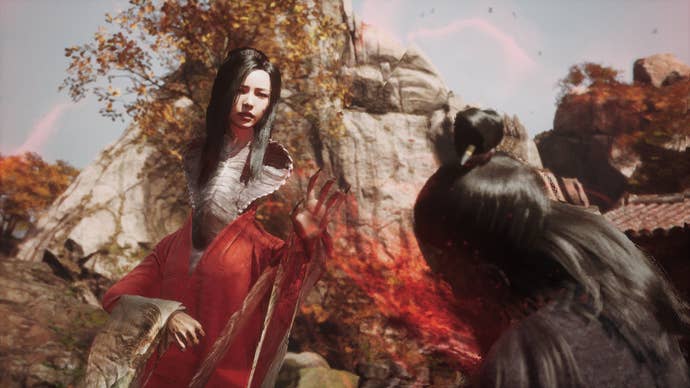
Finally you’ll see a cutscene with the mysterious Fourth Sister, and aPurple Talisman.
Near the Shrine isThe TreeMeditation Spot.
it’s possible for you to drop off the bridge into a large area full of spider eggs.
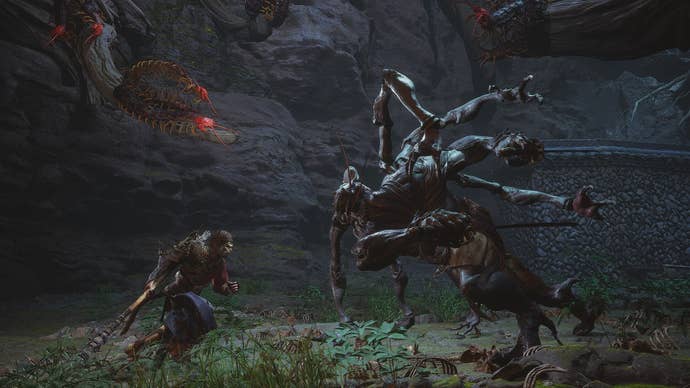
From here, veer leftwards to reach a large field full of bones.
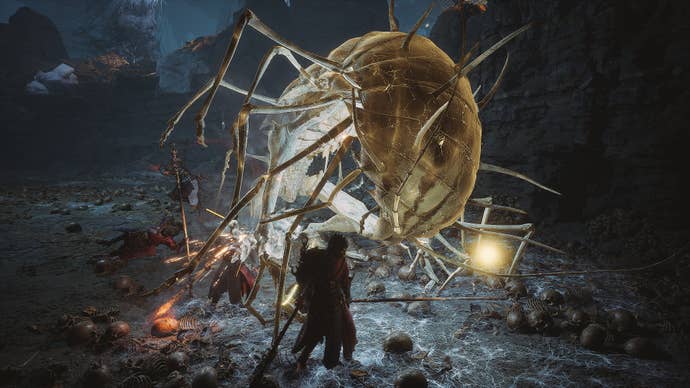
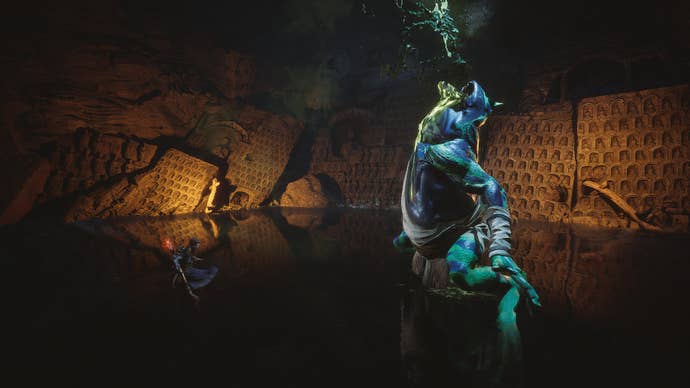
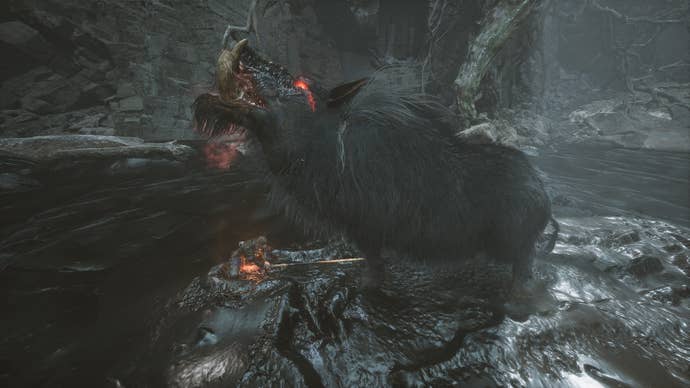
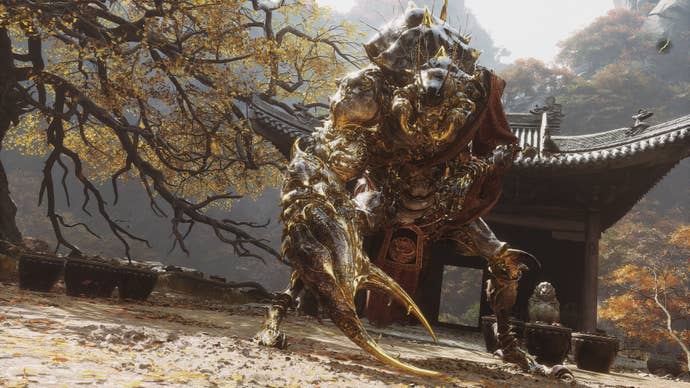
This is the lair ofCentipede Guai, an immense horror.
This is the last time you’ll run into him, and he’s stuck in a cocoon.
Break him open and exhaust his dialogue.
Only by doing this will you be able to unlock his Transformation in the next Chapter.
Remove it and turn left to reach the “Cliff of Oblivion” Keeper’s Shrine.
The corpse of Buddha’s Right Hand forms a bridge after it dies.
Cross the corpse, and keep dropping down and heading right until you reach a fork in the road.
The left side leads to Chapter 4’s hidden area, “Relief of the Fallen Loong.”
We’ll get there in a second - for now, turn right and follow the torches.
Eventually you’ll reach a dead end; there’s a narrow passageway hidden to the right here.
If you keep moving past the webs, eventually you’ll reach the “Lower Hollow” Shrine.
Keep going until you reach a rope bridge that leads across a wide gap.
You shouldmost definitelyuse Cloud Step here, or else the cocoons will knock you into oblivion.
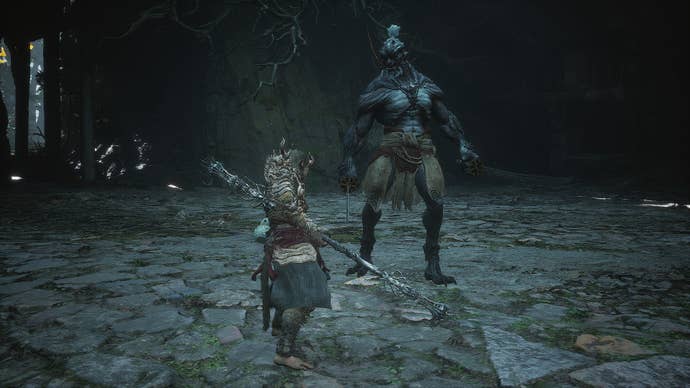
Approach him and get ready for a helluva fight with lightning attacks and some very long combos.
He’ll also charge at you from the air on occasion, which is avoidable via Cloud Step.
Then take the next left and you’ll be on a walkway overlooking the Shrine.
Keep going down this way until you enter a flooded cave whereBaw-Li-Guhh-Bawlurks.
This is actually a two-pronged fight, and thefirst encounter against Bajieshould take very little effort.
Once he’s defeated, loot the hut for all its worth and then turn around.
Once you’ve won, move forward to find the next Shrine.
A few Guai lie your path, but the confusing twists and turns of the Webbed Hollow are over.
You’ll be in a new area when all’s said and done.
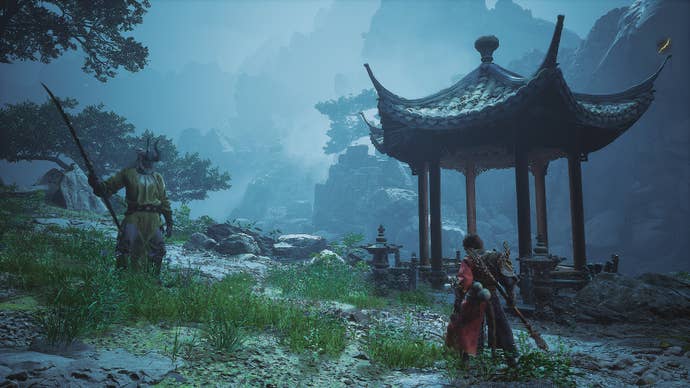
Get the Luojia Fragrant Vine and rest at the “Mountain Trail” Shrine before going up the steps.
If you keep progressing upwards, you’ll spotCommander Beetletraining a regiment of Daoists in a courtyard.
If you head left within the complex, you’ll eventually reach a dead end.
To the left of this dead end is the “Court of Illumination” Shrine.
Now retrace your steps and go down the steep slope that leads to a small cave.
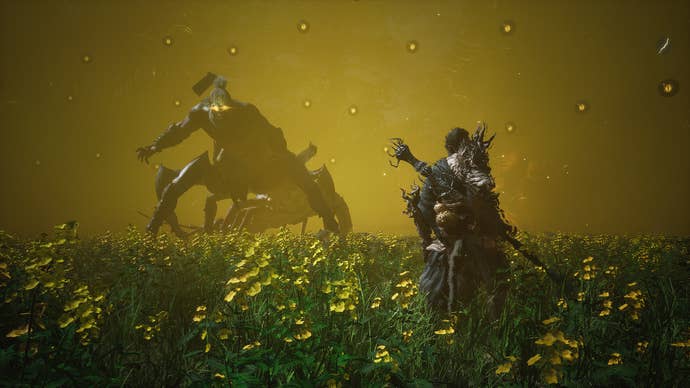
It’s time for round two with your rivalVenom Daoist.
Thesecond fight against Venom Daoistbegins much as the first.
Talk with her then cross the bridge to reach the “Valley of Blooms” Shrine.
Keep going forward until you reach the “Bounds of Deity’s Abode” Shrine.
Climbing the hill near here will also give you access toThe LedgeMeditation Spot.
After you giveDaoist Mithe item, he turns on you and attacks, the asshat.
Once you beat his first form, he transforms into an Amourworm-esque baddie.
Turn right, go down, and you’ll spot the trail of “Cloudnest Peak” Shrine.
Go east down the steps to reach the final boss,Hundred-Eyed Daoist Master.