In this extensive Dead Space remake walkthrough, we’ll guide you through all 12 chapters of the game.
When you land, you’ll gain control of Isaac Clarke.
Exit the Kellion and follow your allies towards the flashing Ishimura sign.

After a brief scan, you’ll enter the Flight Lounge.
Search the nearby lockers to find some credits as you enter.
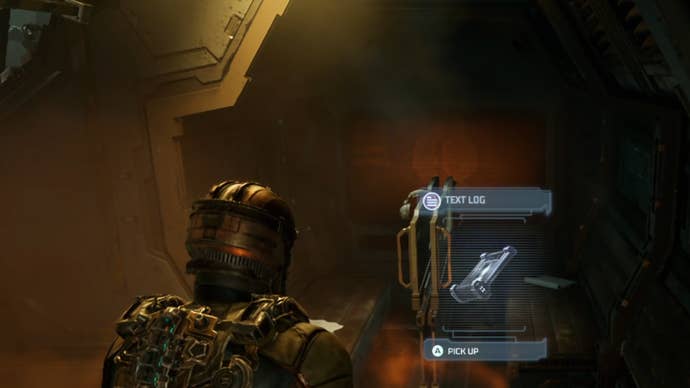
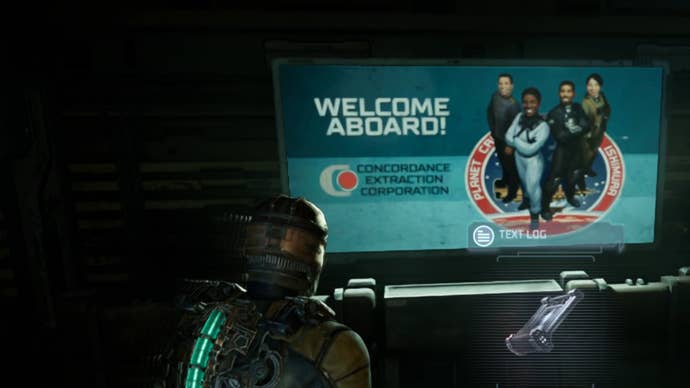
You’ll also find the secondText Login front of the bright “Welcome Aboard!”

sign inside the Flight Lounge.
You see that bloody graffiti on the nearby wall that reads “Cut off their limbs”?
Yeah, if it wasn’t already obvious, that’s about to become very important.
Steady yourself, though, as opening the door will cause a Necromorph to immediately jump out and attack.
Heed the bloody graffiti’s warning, and shoot those limbs!
After killing it, continue through the corridors ahead until you reach the Tram Control Room.
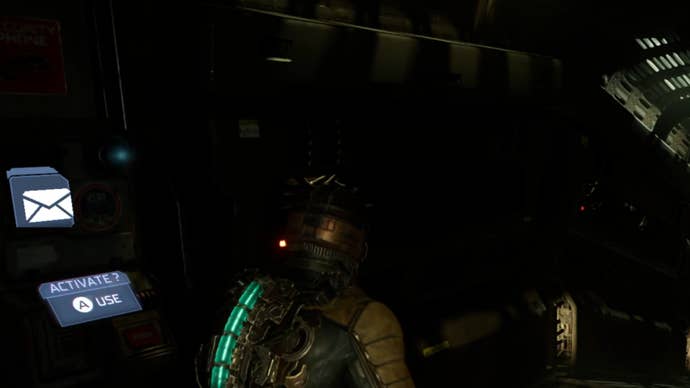
As you proceed through the next corridor towards the Tram Control Room, you’ll see a message terminal.
Interact with it to get your firstAudio Log.
At the bottom of the stairs, you’ll find a Security Door that requiresClearance Level 1.
Continue through the Tram Tunnel towards the loud slamming noise, where you’ll find aStasis Moduleon the floor.
As you approach, the lights will cut out, plunging you into darkness.
Continue through the dark corridors until you reach the Tram Repair Room.
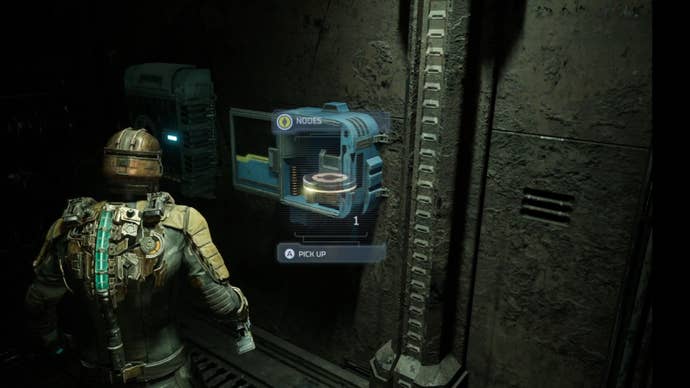
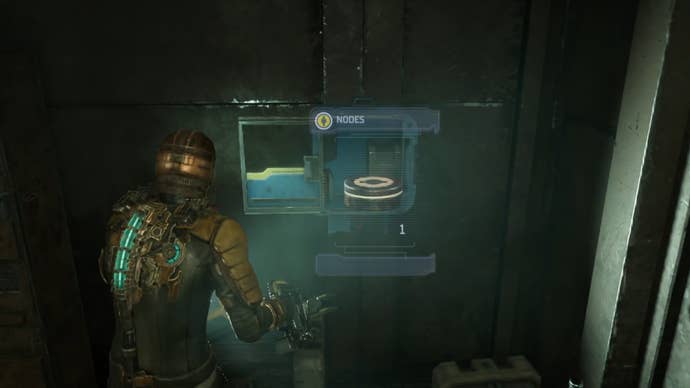
After entering the Tram Repair Room, turn right and follow the wall along to the corner.
There, you’ll find some containers that you might open, one of which contains aPower Node.
you’re free to use Power Nodes to upgrade your gear.

After grabbing the Power Node, turn around to find anAudio Logon the nearby desk.
Repairing the tram
Continue up the ramp and note the nearby blue terminal.
We’ll use that in a moment, but first, search the room for more ammo.
There’s plenty scattered around, which should indicate what’s to come.
Head back up the slope and use the blue terminal to load a tram.
Prepare for a fight though, as interacting with either terminal with unleash a wave of Necromorphs.
It’s also worth noting that one of the claws is faulty and will not connect.
Finish off any remaining Necromorphs and head back towards the main Tram Control Room.
Where to get the Data Board
Next, you must proceed to the Baggage and Control area.
After passing through the door, search the bloody corridor to find some ammo and credits.
Then, continue towards the corner, where you’ll see a circuit breaker up ahead.
Before walking over, look down and kill the Necromorph that’s playing dead on the floor.
Then, interact with the Circuit Breaker to divert power to the Maintenance Bay and initiate the nearby door.
Near the circuit breaker, you’ll find anotherText Logon a chair.
Grab the Data Board inside to complete your current objective!
After grabbing the Data Board, search the room for a couple of other key items.
Kill them and then go back to the Tram Control Room, making sure to save on the way.
You’ll find anotherPower Nodein a container inside.
After a short conversation, you’ll be told to backtrack to the crashed Kellion.
When you reach the elevator, be ready to fight through them to reach the Flight Lounge.
A few Necromorphs will make their way towards you, including a new variant that crawls.
Finish them off and return to the Flight Lounge for your next objective.
Make your way to the elevator and descend further into the Ishimura.
Upon exiting, you’ll find a store where you’re able to buy and sell items.
After a bit of shopping, proceed through the door that leads towards Medical.
You’ll get this in the next chapter, so note the location and continue on for now.
After entering the Depot, you will completeChapter 1: New Arrivals.
