Note: spoilers for major areas, bosses, and endings follow.
You’ve been warned.
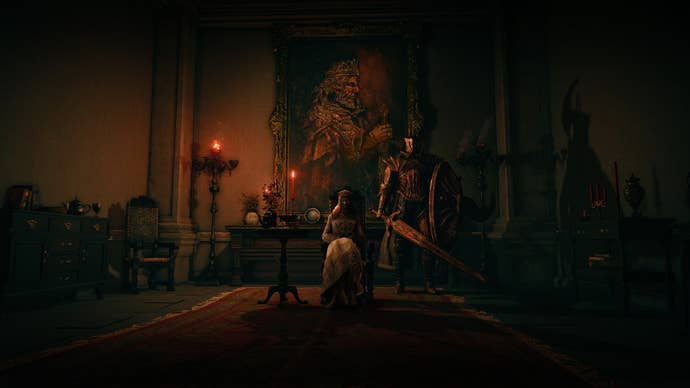
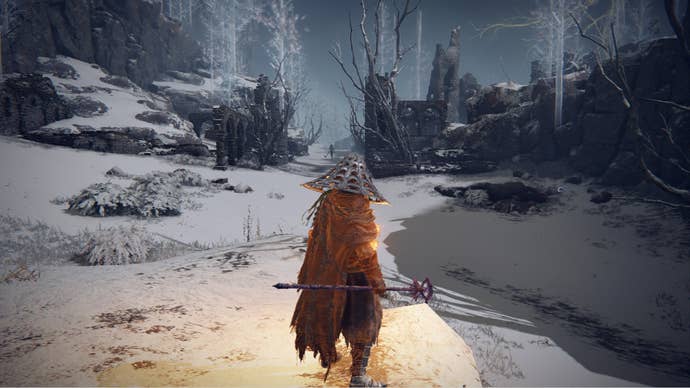
This is your character in Elden Ring.

You get to select a class and keepsake, while also customising their appearance.
These choices won’t largely affect your run, so don’t give it too much thought.
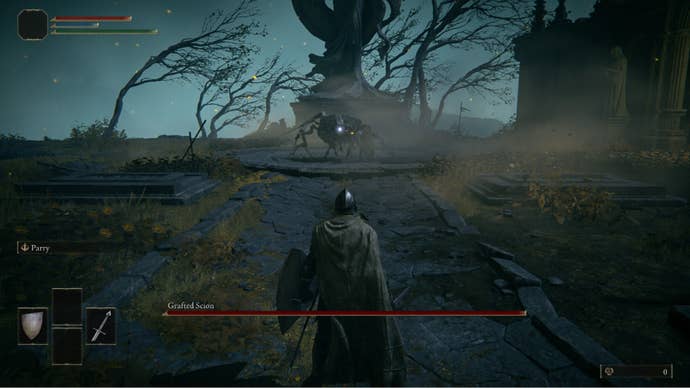
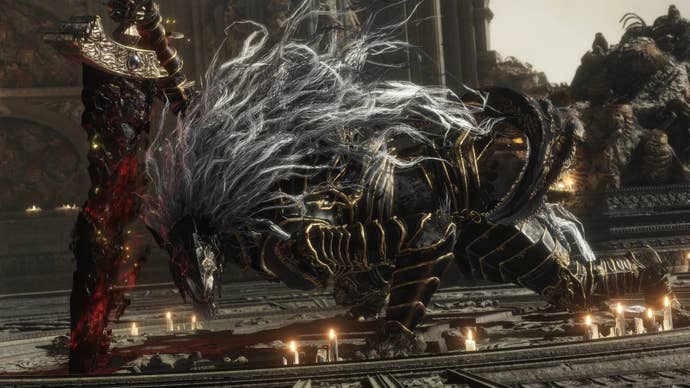
However, this is a very tough boss battle that you are intentionally meant to lose.

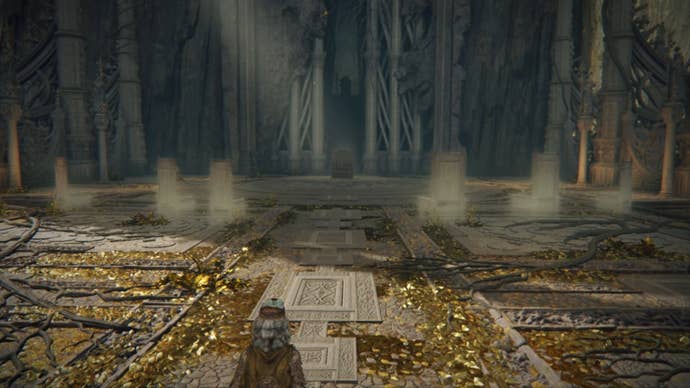
After this, you will wake up in the Stranded Graveyard, Limgrave.
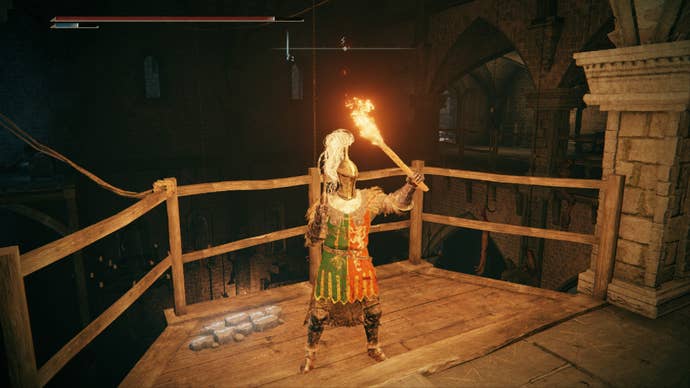
These are essentially potions that you’ve got the option to use to restore your health and FP.
When you’re ready to move on, you will have two options.
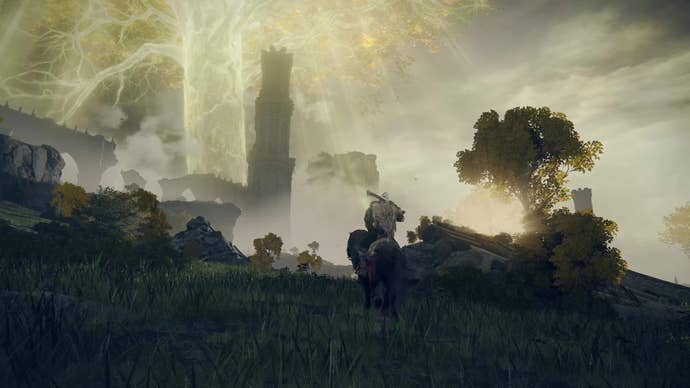
Upon exiting the Stranded Graveyard, you will find yourself inLimgrave.
Your main quest is to reach the Great Erdtree and become the Elden Lord.
To do this, you must find a Maiden.
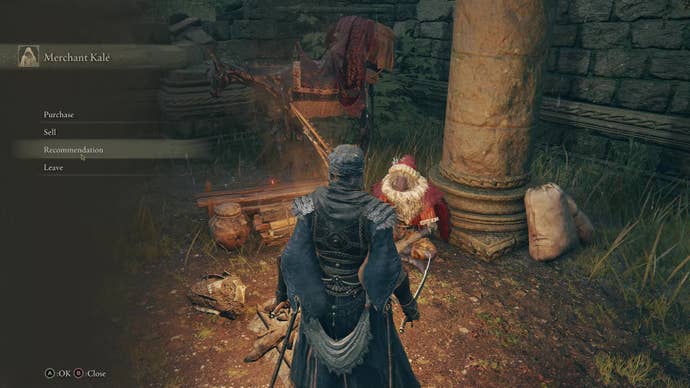
Kale has many useful items that you’re able to purchase, including various notes and crafting recipes.
To buy items, you must spend runes that you acquire from defeated enemies.
For now, we suggest speaking with Smithing Master Hewg, who will upgrade your weapons even further.
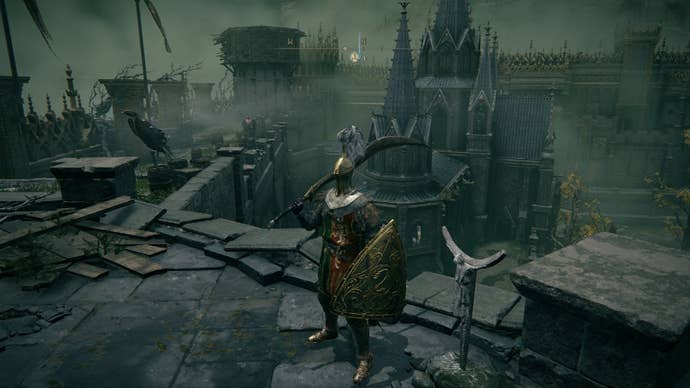
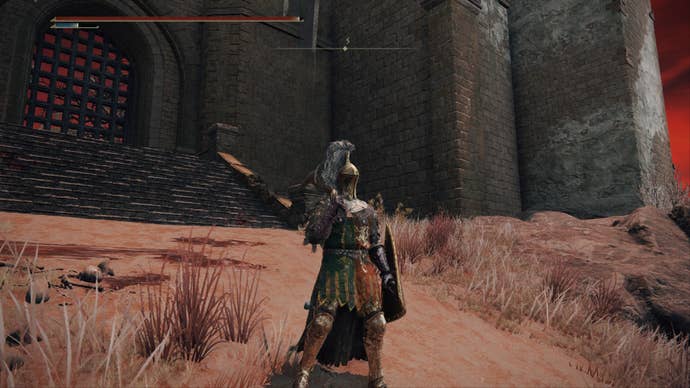
After defeating Margit, continue up the short path towardsStormveil Castle.
Elden Ring Stormveil Castle walkthrough
Stormveil Castle is the first Legacy Dungeon in Elden Ring.
Your goal here is to killGodrick the Grafted, the first shardbearer in Elden Ring.

There are two routes into the castle: a side path and the main gate.
Regardless of which path you choose, both will eventually lead to Godrick.
Below, we’ll walk you through Stormveil Castle step-by-step.
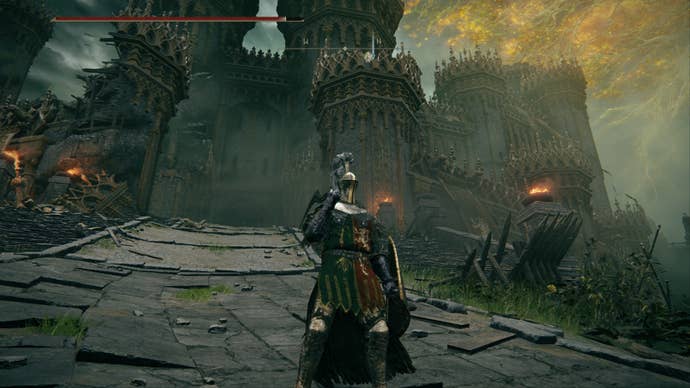
When you arrive, you’ll see that the main gate is closed.
Head into the side passage on the left, where a man will beckon you over.
Head up the steps and kill the nearby enemies before heading into the tower.
This leads into a series of stairways that take you up the side of Stormveil Castle.
About halfway up, you’ll find alocked door, but you might’t proceed through without akey.
After a brief cut to black, you will find yourself battling a powerfulBanished Knight.
Climb the ladders and proceed along the rafters until you head back outside.
After resting, continue outside and kill the nearby hawks.
On the right of this walkway, follow the steps down to the nearby rooftops.
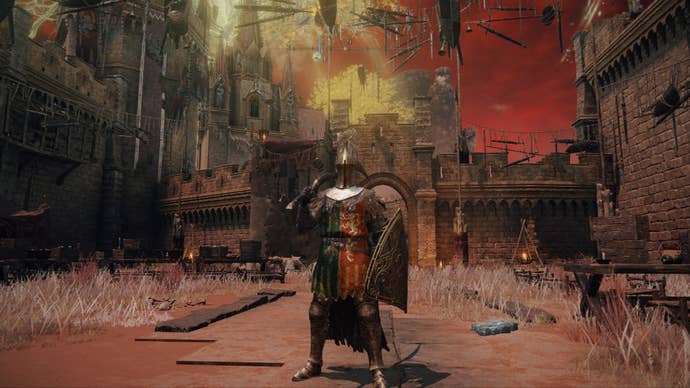
After killing them, continue South down the steps and into the dining hall.
Pass over the bridge and then look over the railing ahead to find aGrafted Scionroaming in the hall below.
Eventually, it will lead down to the Grafted Scion regardless.

Continue through the next hallway and go outside to find a large soldier encampment.
After resting, head back outside and follow the steps up further to the East.
Kill the nearby hawks and soldiers and then follow the path as it bends around to the left.

When you arrive, you’ll find that the locked gate that leads into the Academy of Raya Lucaria.
If you’d rather explore the Academy yourself, skip ahead to ourCaelid walkthroughwhen you’re done.
We’ll explain how to get through the Academy of Raya Lucaria below.

After finding the Glintstone Key, you’ve got the option to head into the Academy.
Use the South Raya Lucaria Gate to warp over to the academy and take the elevator to get inside.
There’s another sorcerer in here, along with some marionnette soldiers that drop from the ceiling.
After fighting the Red Wolf of Radagon, head outside into the courtyard and run to the right side.
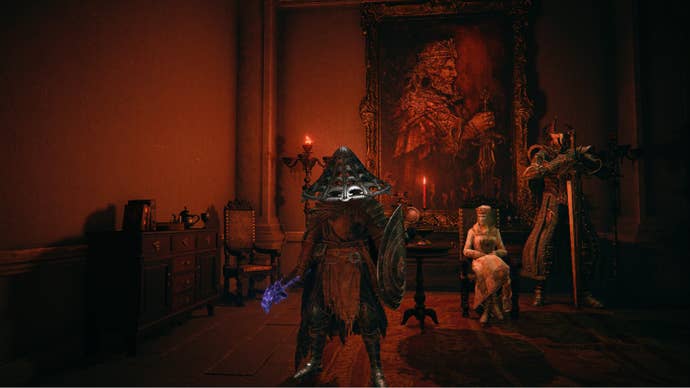
Defeat Moongrum and then use the lift to head up and fightRennala, Queen of the Full Moon.
Rennala will drop another Great Rune, but this is already activated, allowing you to respec your stats.
That covers the main steps in Liurnia, but there’s plenty more to explore.
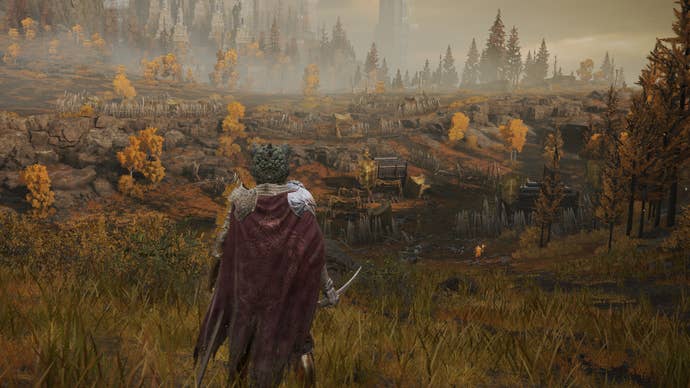
Elden Ring Caelid walkthrough
Caelidis a land of rot and disease to the East of Limgrave.
Elden Ring Redmane Castle walkthrough
Redmane Castle is another Legacy Dungeon in Elden Ring.
Within, you will find the infamous Starscourge Radahn.
Just before the greatbridge that leads to Redmane Castle, you may see a large battle unfolding.
Avoid the mortar fire from the tribuchets up ahead and follow the path up the hill towards the castle.

Along the way, you will find various soldier encampments.
As you approach the main entrance to Redmane Castle, atroll wielding a large fire swordwill attack.
Defeat this troll and then approach the gate.
Since it is locked, you’ll need to find another way around.
To find the hidden entrance, take the path that leads southwest along this ridge.
When you reach the soldier encampment filled with flamethrowers, you will see the wall of fog up ahead.
Rest here and then proceed through the fog to battle theMisbegotten Warrior and Crucible Knightduo.
Of course, there are plenty of other activities to complete in Caelid.
You canfind a powerful staffhere, along with a range of optional dungeons and bosses.
When you’re ready, head back to the Altus Plateau to continue your quest.
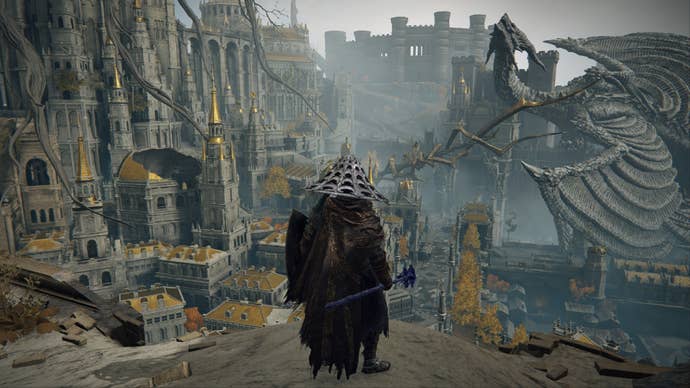
It’s also a passage to other regions that are key to the main quest.Mt.
Gelmirlies to the northwest, whileLeyndell, Royal Capital, is found to the East.

Elden Ring Mt Gelmir walkthrough
Mt Gelmiris significantly smaller than the other regions mentioned so far.
To reach Mt Gelmir, follow the path leading northwest out of the Altus Plateau.
From here, use the spiritspring to leap up andfight the Full-Grown Fallingstar Beaston the cliff above.
In Volcano Manor, you will find the fourth shardbearer:Rykard, Lord of Blasphemy.
If you need help exploring this Legacy Dungeon, use our Volcano Manor walkthrough below.
Otherwise, skip ahead to ourLeyndell, Royal Capital, walkthroughwhen you’re ready.
Then, head into the nearby corridor and enter the first room on the right using Tanith’s key.
Hop across to the rooftops and continue southwest, making your way onto the bridge up ahead.
Head into the chapel at the top and use the nearby lever to activate a lift.

Use this to get to the rocky area behind the chapel.
FightRykard, Lord of Blasphemy, to gain another Great Rune.
Kill all 3 and then speak to Tanith to teleport instantly to Rykard’s boss room.
To enter, you must travel to the northeastern side of the outer wall andfight a Draconic Tree Sentinel.
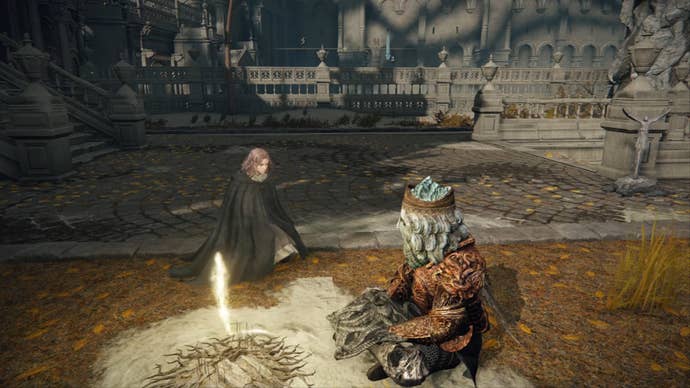
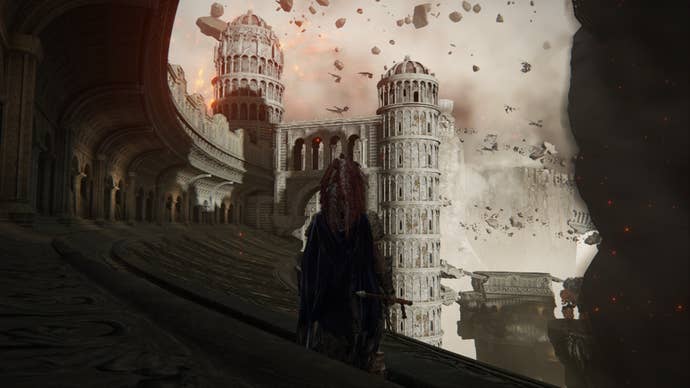
Rest here to speak with Melina, who will express her gratitude for accompanying her to the Erdtree.
After this chat, proceed down the slope ahead for another gorgeous view of the Royal Capital.

At the bottom, head straight forward through the next hall.
Turn left and go through the open doorway to encounter a few enemies.
Clear this room and then continue through the tight alleyway.
This passage branches off to the right, but follow the path ahead first.
This leads through to a large carriage on the main street that cuts through the centre of Leyndell.
From Avenue Balcony, proceed down the steps and run towards the lightning knight enemy up ahead.

Kill the knight and then look ahead to find alarge stone dragon.
Head up and climb the nearby ladder to find a walkway leading to theWest Capital Rampart Site of Grace.
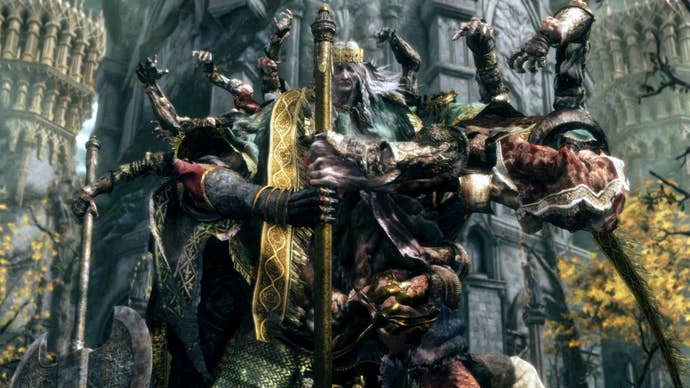
Up ahead, you’ll face another shardbearer:Morgott, the Omen King.

After defeating Morgott, you discover that the entrance to the Great Erdtree is blocked by thorns.
She gives you theRold Medallionthat you’re able to use to reach this area.
However, the main path continues in the Mountaintops, where you must find theForge of Giantsfor Melina.

However, this Yura is a little different and warns you of the dangers of helping Melina.
This is where we enter intoending territory, and where the path splits considerably.
Continue weaving through the mountains towards the Forge of Giants, where you willfight the Fire Giant boss.
If you’re suffering from crashes in this fight, check out ourFire Giant crash solution.
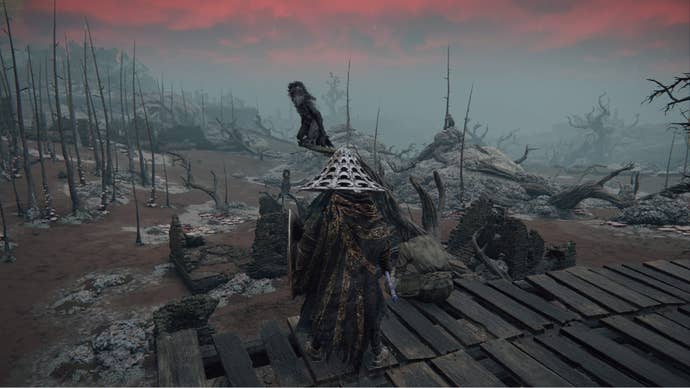
Elden Ring Crumbling Farum Azula walkthrough
Crumbling Farum Azula is another Legacy Dungeon in Elden Ring.
Then, take the path that bends southeast into the large colosseum building to fight the Beast Clergyman boss.

Halfway through the fight, the boss will transform intoMalekith, the Black Blade.
Below, we’ll provide a full Crumbling Farum Azula walkthrough.
After a short cutscene, you will spawn on a broken walkway in Crumbling Farum Azula.
Walk inland towards the structure ahead and hop down the destroyed wall on your right.
This leads to a door, through which you will find a staircase down into the ruins below.
After resting, continue to the end of the passage and leap onto the curved walkway below.

Up ahead,a dragon will swoop down and attack.
This dragon isn’t technically a boss, but it’s certainly difficult.
After defeating the Godskin Duo, exit the altar by heading North from the Site of Grace.

Take the steps down into the ruins below and hop down to kill the beasts nearby.
Continue through the next corridor and vault through the open windows to pull up the walkways below.
Kill the enemies here and then take the path that slopes down into the next ruin.
Head through this passageway and use the destroyed stone structure ahead as a makeshift bridge across the large chasm.
On the other side, you’ll find a short stairwell that leads down to aCrucible Knightminiboss.
The dragon is another miniboss, but fortunately it already has fairly low health.
This takes you up to a large bridge where you will fight another Draconic Tree Sentinel.
After this fight, enter the large colosseum building to fight theBeast Clergymanboss.
Halfway through the fight, the boss will transform intoMalekith, the Black Blade.
When you spawn in, head southwest through the ruined buildings and ash dunes until you reach an elevator.
After defeating the Elden Beast, rest at the nearby Site of Grace.
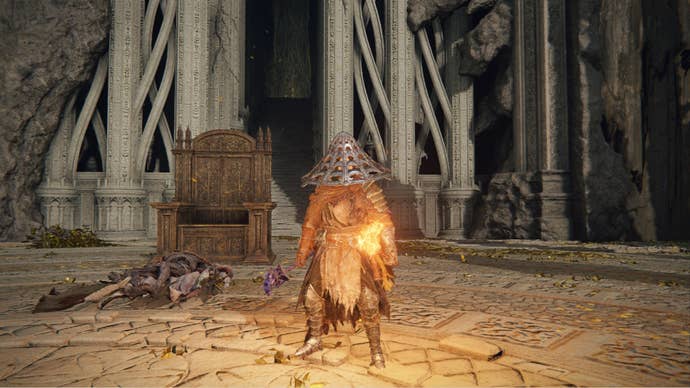
Finally, you’ve got the option to interact with theFractured Marika statueand select your ending.
Now, time to start again and get thoseother endings.
That wraps up our Elden Ring walkthrough.
